Categories, along with the Sections they fall under, are a way of organizing articles on your site so they can be managed efficiently in the administrator and presented dynamically to visitors.
Adding a Category
To add a Category to your site:
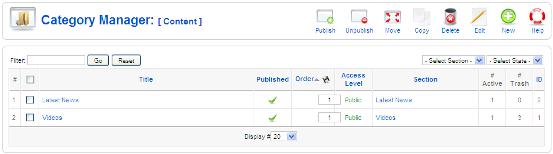
- Go to Content > Category Manager
- Click New in the upper right
- For Title in the Category [New] view, enter a title for the Category

- For Title Alias, leave the field blank. This will automatically be filled in by the system.
- For Published, select Yes
- For Section, select the Section you wish this Category to fall under.
NOTE: A Category can fall under one and one Section only. - For Access Level, choose Public, Registered, or Special, depending on which type of end user you wish to view the articles in this Category. If your site does not restrict access to content by requiring individuals to login or you wish all end users to view this module, leave this as Public.
- For Image, leave as the default "- Select Image -"
- For Image Position, leave as the default "Left"
- If you have a Category Blog Layout or Category List Layout menu type you wish to create for this new category, you can elect to display the Description at the top of that page. If so, enter the description in the Description field using the content editor and follow the instructions on Category Manager: Display Category Description.
- Click Save
Editing the Category
To edit this Category on your site:
- Go to Content > Category Manager
- Locate the Category in the list of options
- Click the title
- Edit the parameters as described above
- Click Save
Solutions for Soapbox CMS
Deleting a Category
To delete a Category on your site:
- Go to Content > Category Manager
- Locate the Category in the list of options
- Click the check box next to the title
- Click Delete in the upper right