Changing the Alias:
If you would like to customize the url Soapbox creates for a given menu item, you can change it by doing the following:
- Go to Menus > Main Menu (or the menu where the menu item is located)
- Locate the menu item
- Click on the Title
- Change the Alias to the url you wish for this page
- Click Save
Using Redirects:
In some cases, this may not be sufficient and you wish to create an easy to remember link to a specific page to promote and drive traffic. A common example is a donation page that you may wish to advertise in an upcoming fundraising letter. But what if the link to your donation page is http://www.yourdomain.org/about-us/get-involved/help-out/donate-today and you would prefer http://www.yourdomain.org/donate. You can do so with Redirects.
To create a custom redirect, just follow these easy steps:
1. Go to Components > Redirects
2. Click New on the top right.
You should see something like this:
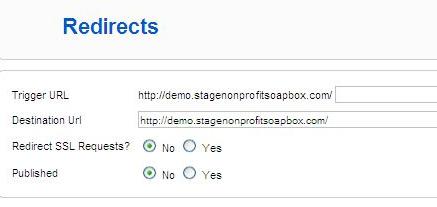
3. Where it says "Trigger URL" you should see http://www.yourdomain.org/ followed by a text box. Here you can input whatever custom text you'd like to use to redirect, as you can see, in the example below, I've typed in "donate".
4. On the next line You'll see "Destination Url", which should be prepopulated with your domain name as well. This box is where you would enter the full URL of the page that you'd like users to land on.
Because this field came pre-populated with my site's URL, I could either add "/typography/article.html" to the end of the URL that is already in the box, or I could paste the full URL of the destination site over the pre-populated text. You can also place a link to a different site here (if you wanted to link to a third party site), just delete the pre-populated URL and place whatever appropriate URL in it's place.
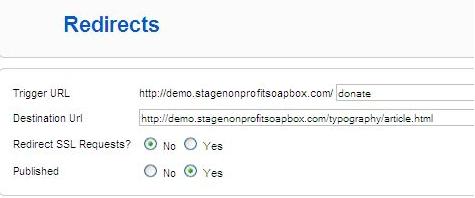
5. Please leave "Redirect SSL Requests?" set to "No", and be sure to set "Published" to "Yes" as shown in the example above.
6. Now that you've set up your redirect, click "Save" in the top right.
Once you've clicked save, your redirect should work. Try putting your custom URL into your browser and see if you are taken to your destination URL.